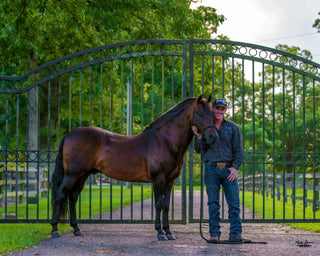
Welcome to our blog! I’m Michael, the Horse Guru, and today I'm here with my best friend, Tito, to walk you through the essentials of using natural horsemanship halters. We've received numerous messages from our community seeking guidance on halters, and we're here to provide you with all the information you need.
Watch The Video Here Or Continue Reading Below!
Introduction to Natural Horsemanship Halters
If you've attended any of our clinics or watched our videos, you know that we work with any horse, regardless of the problem or breed, using a natural horsemanship halter. These halters are a crucial tool in our training repertoire. Today, we'll cover how to tie them, where to place them, and their overall purpose.
Placing the Halter on Your Horse
Step 1: Positioning the Muzzle
To start, position the halter on your horse by placing the muzzle where the knots are on their face. This ensures the halter sits correctly and comfortably.
Step 2: Bringing the Rope Around
Next, bring the rope around the horse’s head. You will notice a loop on one side of the halter. Take the other end of the halter and place it through this loop.
Tying the Knot
Step 1: Adjusting the Height
Raise the halter to the desired height on your horse’s head.
Step 2: The Loop Technique
Here’s the trick: the loop is designed for a specific reason. Bring the rope right behind the loop, leaving a small gap where your fingers are, and then thread it straight through this gap. This forms the knot you need.
Step 3: Ensuring a Secure and Easy-to-Undo Knot
This method creates a clean, secure knot that will always come undone, no matter how much pressure the horse puts on it. Whether you tie your horse to a tree or any other anchor point, this knot will hold firm yet remain easy to untie.
Why This Knot Works
A lot of people use various knots, but a knot fails if it doesn't tie or untie when needed. The knot we've demonstrated is reliable and ensures that any excess rope is kept away from the horse’s eye for safety and comfort.
Recap of the Knot Tying Process
To recap:
- Place the halter over the horse's head.
- Thread the end through the loop.
- Bring it around behind and through the gap where your fingers are.
This is the knot you should aim to see every time.
Conclusion
Thank you so much for reading this guide! We encourage you to share your feedback in the comments below. Let us know if you have any problems with the steps or if there are other issues you’d like us to address. Our goal is to help you bond with your horse and overcome any challenges you face.
Stay tuned for more tips and tricks to help you reach your equestrian goals!
Check out more free training resources HERE!

