Watch the Video Here or continue reading below!
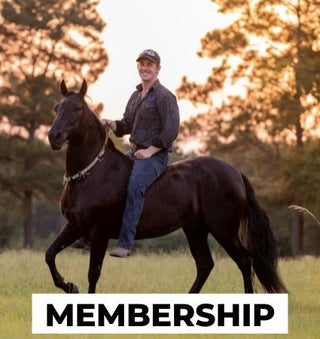
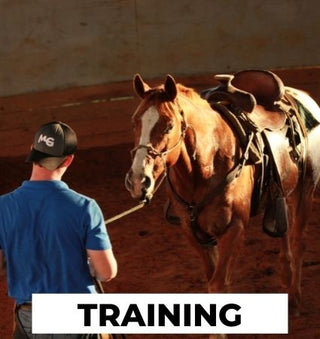
Welcome, horse lovers! In this training session, we're diving into a common question in horsemanship: Why use a bit, and specifically, when is it time to introduce a shank bit? Today, I’m working with Diva, a five-year-old mare who's preparing for her next step—competing in ranch classes with her owner.
Diva’s been through the foundational stages using a halter and snaffle bit, and now she’s ready to advance to a shank bit to help refine her performance, especially when it comes to riding one-handed—a must for many show disciplines.
Why Start with a Halter?
"You use a halter—even for bucking or biting horses?"
Absolutely! I always believe in starting simple.
The halter is the most basic and clear communication tool. It’s how I address problems like bucking, biting, or even more extreme behaviors. Whether you're fixing groundwork issues or starting a green horse, the halter allows for direct pressure and foundational training.
The Purpose of Tack: It’s a Tool, Not a Punishment
One of my biggest pet peeves in the horse world is how tack, especially the shank bit, often gets demonized.
Every piece of tack—whether it’s a snaffle, shank bit, or hackamore—was created by a knowledgeable horseman for a specific job. It’s not about harshness. It’s about using the right tool at the right time for the horse’s stage of training and the rider’s goals.
When to Introduce the Shank Bit
Diva is at a stage where she's already soft, responsive, and moving off cues. Now, we’re refining her for one-handed riding, a hallmark of a finished horse in ranch and western show classes.
With a snaffle bit or halter, you rely on direct pressure—lowering your hand to drop the horse's head, for example. But when the rider transitions to show-style riding, their hand position changes: often raised, with one hand on the reins over the saddle horn.
How the Shank Bit Helps
“So how do we keep that nice head carriage without using two hands?”
That’s where the shank bit with a snaffle mouthpiece comes in. Thanks to its leverage action, even when the rider’s hand is held higher:
-
It encourages the horse to lower its head.
-
It helps maintain a rounded frame and correct posture.
-
It allows for clear, gentle cues using minimal movement.
The part of the bit above the mouthpiece, called the purchase, plays a key role. When the reins are engaged, the leverage created encourages the horse to tuck its nose and carry itself in a balanced, show-ready form.
Communication, Not Control
Let’s be clear—this isn’t about control or punishment. Diva already understands the cues. We’re simply refining her communication so that her rider can cue with elegance, ride one-handed, and maintain that classic ranch class look.
Using the right bit at the right stage allows the rider to sit pretty and keep the horse collected without constantly lowering their hand or switching to two-handed riding.
Final Thoughts: There’s a Time and Place for Every Tool
Whether you're starting out in groundwork or getting ready for the show pen, remember this:
Every piece of tack has a purpose. Use it to communicate—not to dominate.
The shank bit, used properly, is a powerful and effective tool in transitioning your horse to finished riding. Just like Diva, your horse can move from foundation to finesse with the right training steps.